Overview
GenRight aluminum fenders front and rear. Bolt-on high clearance fenders for the 40s at full articulation without destroying sheet metal every trip.
Tools Needed
- • Socket set, wrenches, and torque wrench
- • Drill and step bits
- • Jack stands and a buddy (fenders are awkward solo)
- • Rust converter + seam sealer
Materials Used
- • GenRight Aluminum Fenders Front & Rear (TJ)
- • Factory and replacement mounting hardware
- • Rust converter + seam sealer
- • Cerakote Burnt Bronze (C-148)
Estimated Time
Approximately 6-10 hours (removal, test fit, bolt-on install, rust repair, sealing, and paint).
Installation Steps
Remove the Stock Fenders
Unbolt and remove the factory fenders, flares, and inner liners. Inspect the tub and mounting surfaces for rust or damage while everything is accessible.
Fit GenRight Aluminum Fenders
Test fit the new aluminum fenders. Confirm mounting tab alignment and hardware locations. Check tire clearance at full compression and steering lock.
Prep, Paint & Rust Repair
Prep and apply Cerakote Burnt Bronze to the new fenders. Treat any rust on the tub or mounting points while the old fenders are off. Let the finish cure before final assembly.
Mount, Seal & Protect
Bolt the new fenders using factory and new hardware. Apply generous seam sealer on all joints.
Test Full Articulation & Final Finish
Reinstall liners if desired, torque everything. Do a full stuff test on the lift or trail. Touch up any raw edges and enjoy not destroying sheet metal on every rock.
Results
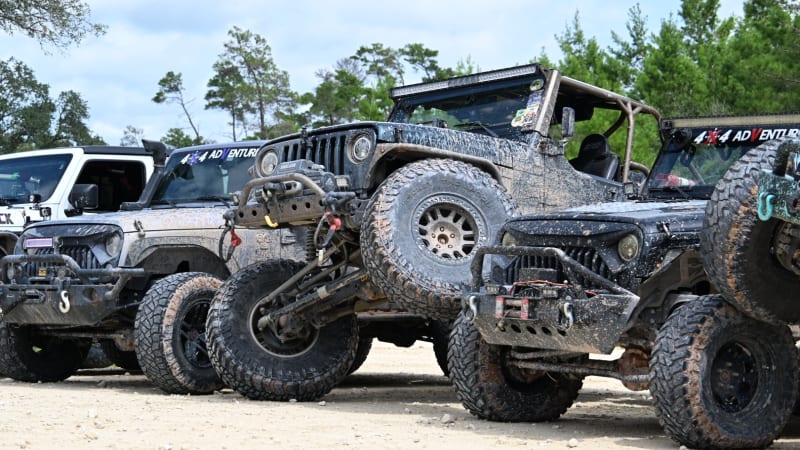
The rig finally has the clearance the 40s and 4.5" lift deserve. No more constant fender rash. Clean high clearance look with aluminum that won't rust like steel.



Look for the GenRight Fenders card in the Repairs & Mods grid or the CLICK TO INSPECT buttons.